Imagine holding a pawpaw (Asimina triloba) seed—a tiny embryo containing generations of ecological wisdom, waiting to unfurl its potential in your hands. More than just a fruit tree, the pawpaw represents a living connection to the landscapes of eastern North America, a botanical narrative that stretches back millennia. This isn’t simply about growing a tree; it’s about participating in an ancient dialogue between human stewardship and natural abundance.
The Pawpaw: North America’s Forgotten Fruit
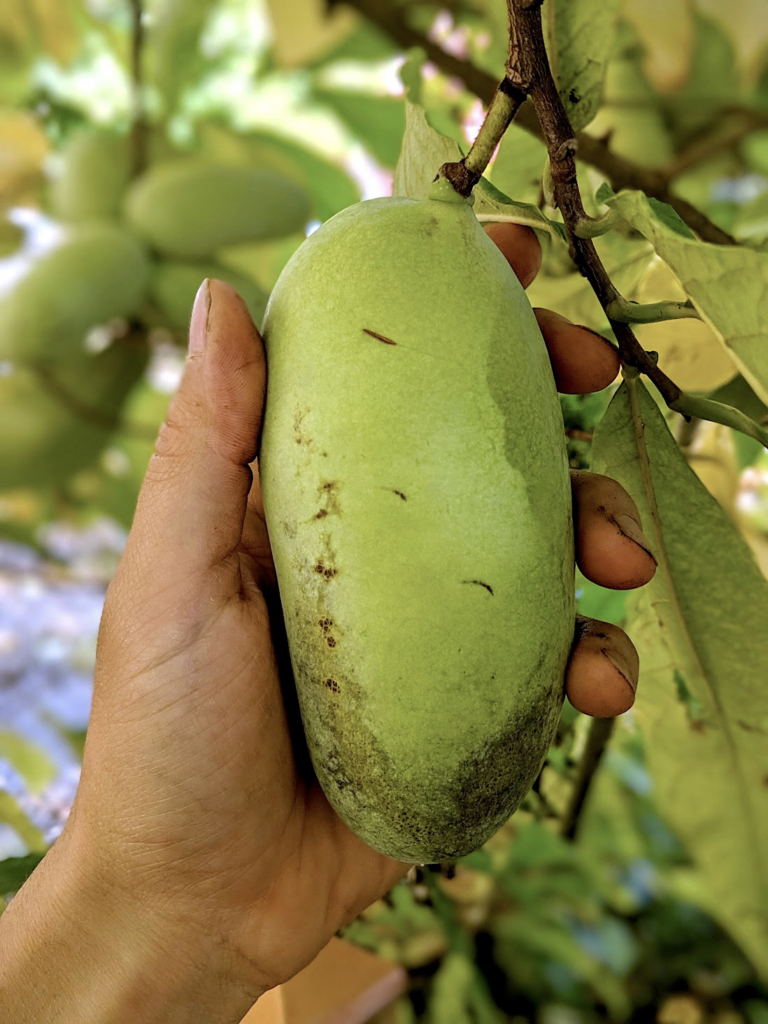
Nestled in the understory of eastern forests, pawpaws (Asimina triloba) are a hidden treasure—a native fruit so extraordinary that it defies what seems possible to grow in New England. With a flavor that dances between banana, mango, and vanilla custard, pawpaws embody the wild, undomesticated spirit of North American ecosystems.
In this article I will teach you a simple and reliable way to grow your own pawpaws from seed. Using this low-cost, low input method, you can grow paw paw trees in your food forest without spending a cent!
If you decide that you’d rather take a faster route, check out the pawpaws we sell through our nursery.
When to Collect Seeds:
- Harvest from fully ripe fruits in late summer/early fall
- Look for fruits that are soft and beginning to drop from trees
- Collect fruit from local trees with superior fruit! This way you know you have genetics that will work in your context.
- Collect seeds as you eat the pawpaws, or if you have too many fruits, you can use the stinky method and let the fruits rot in a bucket
- Don’t let the seeds dry out ever throughout this process!
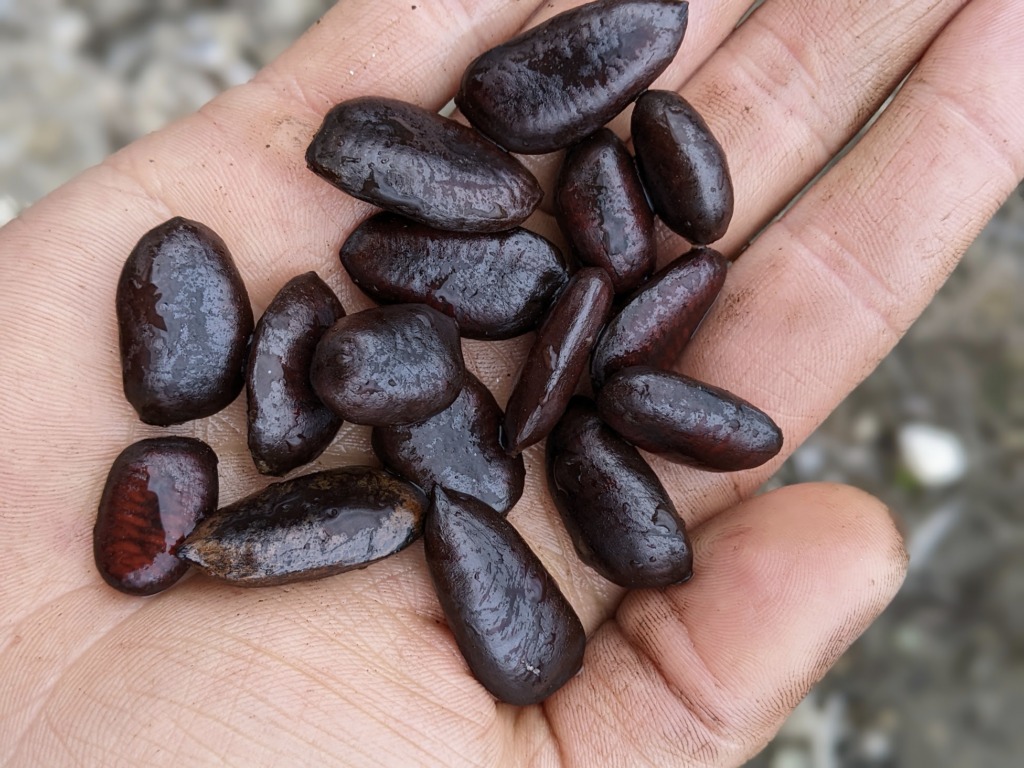
Seed Saving Techniques:
- Clean seeds thoroughly, removing all fruit flesh. Seeds generally have higher germination rates when removed from the fruit pulp.
- Since pawpaw seeds are large, it is relatively easy to separate them by hand. You can also use a bucket with water to mash the pulp and decant it out.
- Since pawpaw seeds don’t germinate well once dried out, I recommend beginning stratification immediately after extraction.
Stratification: The Key to Successful Germination
Pawpaw seeds require a specific cold treatment to break dormancy. This process mimics the natural winter conditions seeds would experience on a forest floor. Without this process, they will not germinate! It is a natural defense mechanism that assures the seeds germinate at the proper time.
Although I often encourage growers to use natural stratification by sowing seeds outside in the fall, I have had inconsistent results using this method with pawpaws.
Instead, I recommend stratifying pawpaw seeds in the refrigerator. The refrigerator method is great, it just requires a little more attention to prevent mold.
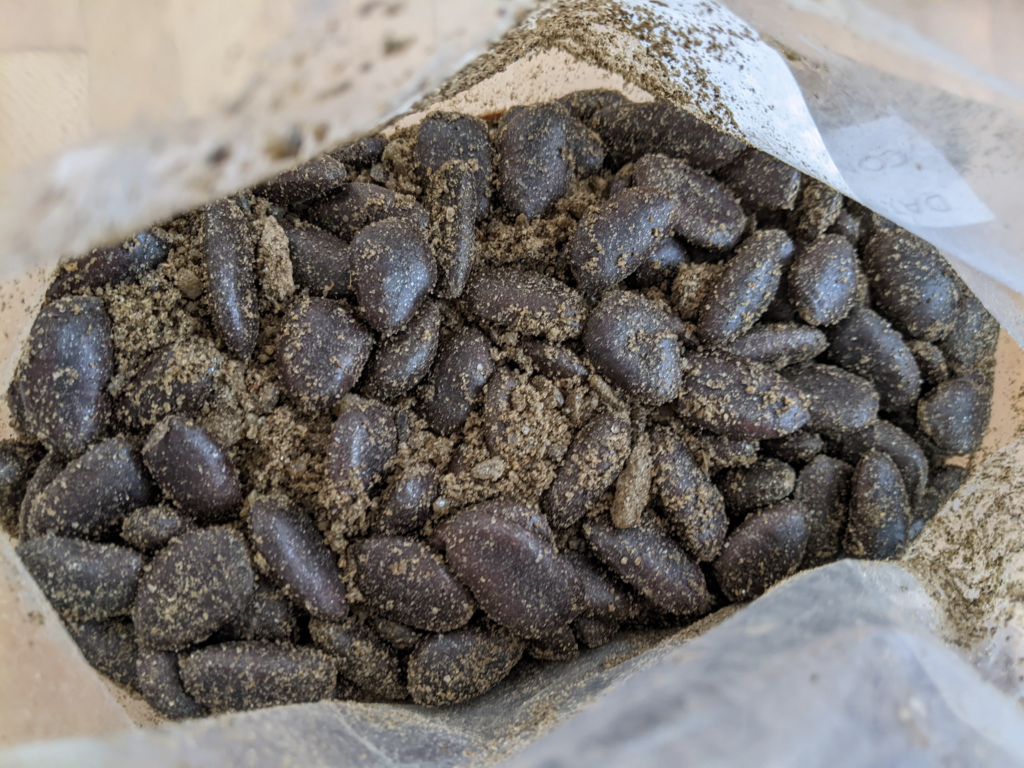
Refrigerator Stratification Method:
- Use a sealed plastic bag with barely moist sand or peat moss. You don’t want it to feel dripping wet. If you can squeeze the medium and water drips out, it’s too wet!
- Soak the pawpaw seeds in a weak bleach solution for 30 seconds. I was resistant to do this for many years but it actually really does help prevent mold. Rinse with straight water afterward.
- You should have at least as much volume of peat/sand as you do seeds. I aim for maybe 2 parts peat to 1 part seeds.
- Maintain a temperature in your fridge between 33-40°F. It helps to have a thermometer in your fridge to measure. Different parts of the fridge can often be quite different temperatures. Very cold but not freezing is what we’re after.
- Every 2 weeks, check for mold. I like to jostle the bag around a little to get some air flowing in there. If you see any fuzziness of off-smells, repeat the bleach process and put the seeds back into stratification.
- Stratify for 3 months.
Planting your seeds
Seed Planting Depth and Technique:
Pawpaw seeds need a much longer period of heat after stratification than most seeds do in order to germinate. If you want to get the most growth out of your paw paw trees as quickly as possible, I recommend starting them in deep pots on a heat mat. If you don’t mind waiting a while longer, you can plant them directly into a well mulched and weeded nursery bed.
- Plant seeds about an an inch or 1.5 inches deep
- You can plant either in the ground or in pots. Though I usually prefer to plant things in an in-ground nursery bed, pawpaws are one that might be a good idea to put the extra time and effort into growing in pots.
- Use well-draining, rich potting mix
- To accelerate growth, use a heat mat to maintain soil temperature around 70-80°F
- Where I am, in central New England, if you’re starting on a heat mat, you can start as early as March. The seeds will germinate after a few weeks on the heat mat, grow for another few weeks, and then can go into a less protected environment once the threat of frost passes.
- Or, you can simply directly plant them into the ground. They usually won’t germinate until July in this case, and you will only get a ½ or less the growth in the first year.
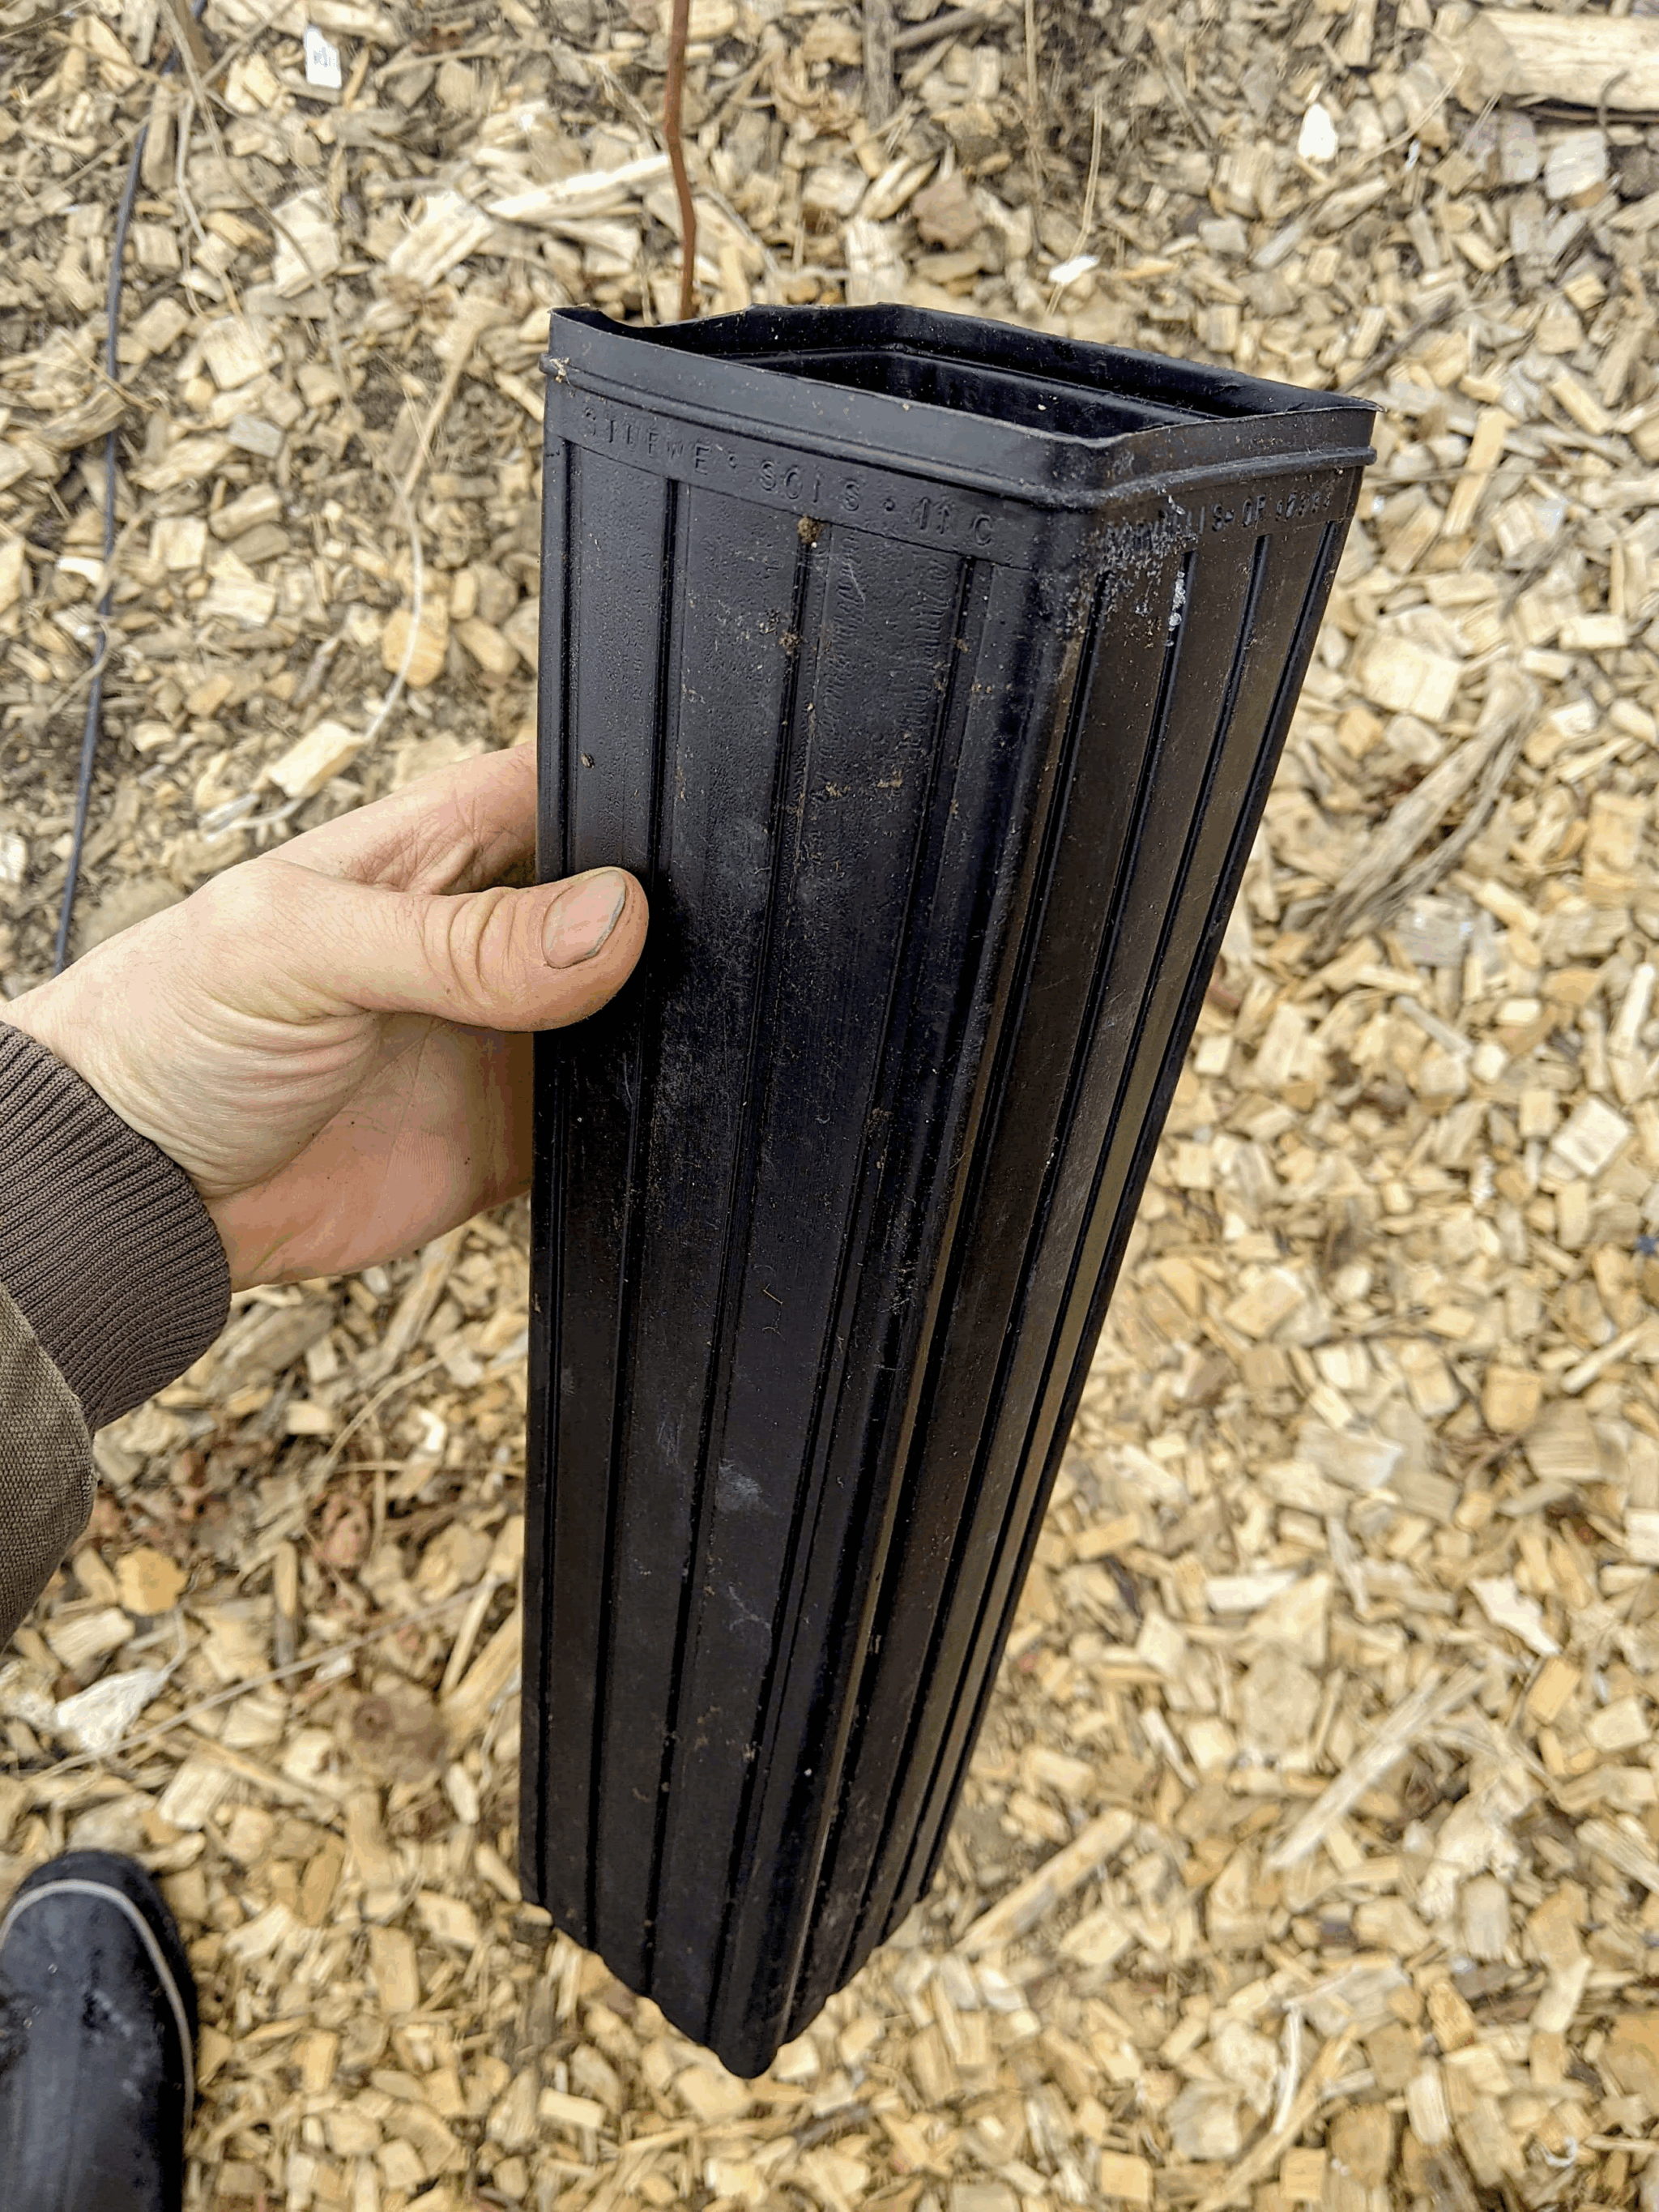
Optimal Containers:
- Tall tree pots (more aligned with a paw paw’s desired root structure)
- Air pruning boxes
- You can simply use big pots, not specifically designed for trees, sow a dozen or more pawpaw seeds, and transplant them as 1 year old bare root trees in the fall or the following spring.
Example Potting Mix you can make yourself:
- 1/3 Coco coir or peat moss
- 1/3 High-quality organic compost
- 1/3 Perlite or coarse sand
Germination Acceleration Techniques
Germination Enhancement Methods:
- Use heated propagation mats
- Create mini greenhouse environment
- Maintain consistent soil moisture
- Expect germination in 3-6 weeks post-stratification
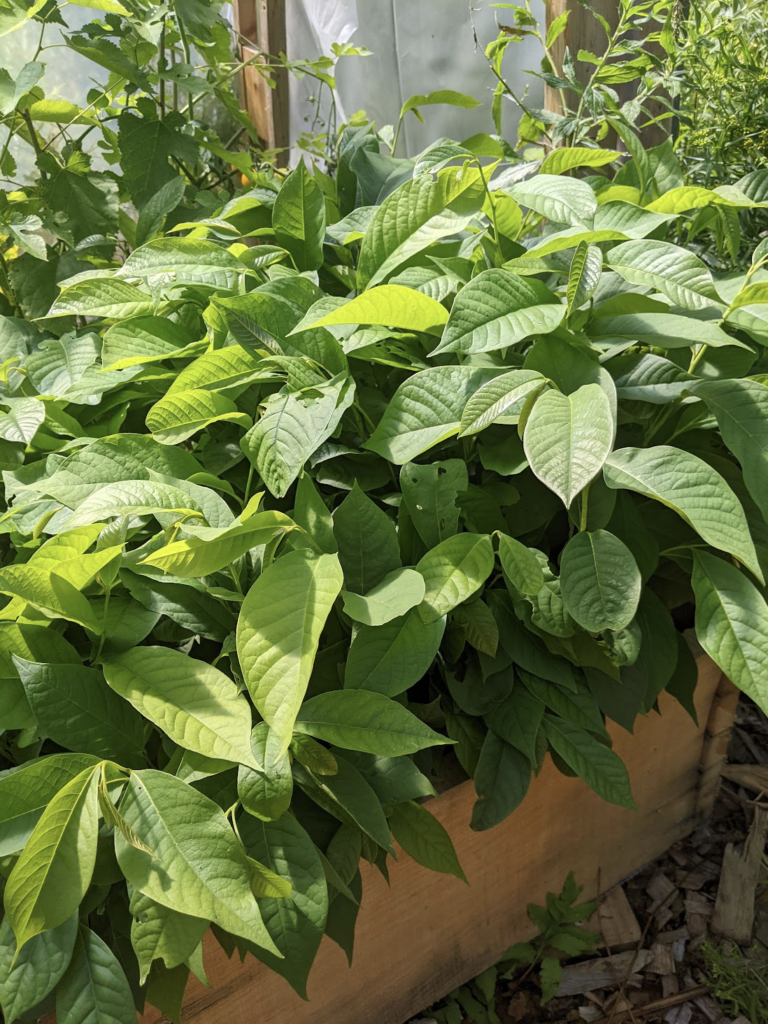
Growth Expectations
- First-year growth: Often just a few inches when planted in the ground. 1-2 feet when started on a heat mat and grown in a high tunnel.
- Fruit production: 7-9 years from seed
- Root system: Delicate and requires gentle handling
Transplantation Tips:
- Transplant during dormant seasons
- Minimize root disturbance
- Provide partial shade initially
Transplant Shock Mitigation:
- Choose cloudy, cool days
- Water thoroughly
- Provide temporary shade
- Minimize root disturbance
Beyond Cultivation: Ecological Significance
Pawpaws are more than a fruit—they’re ecosystem participants:
- Support native wildlife
- Contribute to forest biodiversity
- Represent genetic diversity of native landscapes
A Regenerative Approach
Each pawpaw tree you grow:
- Enriches local ecosystems
- Preserves botanical heritage
- Creates food security
- Connects you intimately with natural processes
Final Reflections: The Magic of Propagation
Growing pawpaws from seed is an act of hope, patience, and profound connection. You’re not just planting a tree—you’re continuing an ancient botanical narrative, one seed at a time.
Nature follows no absolute rules. Your pawpaw journey will be uniquely yours—embrace the uncertainty, learn from each season, and let the trees teach you.
For all the plant nerds out there who want extra credit, here’s a fantastic online resource from the USDA forest service for starting hundreds of species of tree seeds.

